

Soil Type and Soil pH Lab
Soil Type and Soil pH Lab
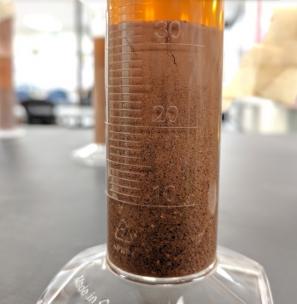
In this Earth Science lab, students determine which type of soil they have in a sample found from my garden. On day one students place soil in a graduated cylinder, filling it to about 25 percent. They then fill their cylinder up 3 times that amount or nearly full with a soapy water solution. If students don't put enough of the soapy solution in, their soil turns to a thick mud and can't separate and settle well to the bottom. To create the soapy solution, all I did was add a dry borax type soap to distilled water. You don't want to use soap that is sudsy, because as they shake the cylinder, it really suds up. I know from experience. The purpose of the soap is to help break bonds holding dirt clumps together. Have the students tape the top of the cylinder extremely well, so that they don't get mud all over their hands or your desks. I have tried using rubber stoppers before, but students found a way to get those stoppers jammed and stuck in the cylinders, so this year I used tape.
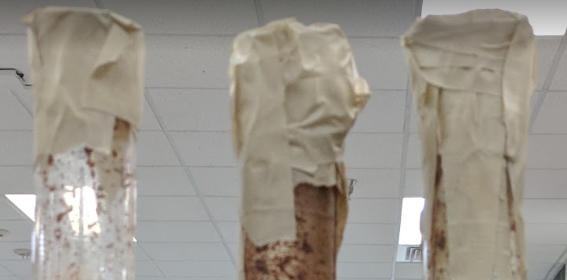
It is very important that students shake the cylinder vigorously for some time. I have them shake it for 5 minutes. As their arms tire, they can pass it off to another student. After five minutes students, set the soil in the back of the room where the sediment will settle, hopefully into three distinct layers of sand, silt, and clay.
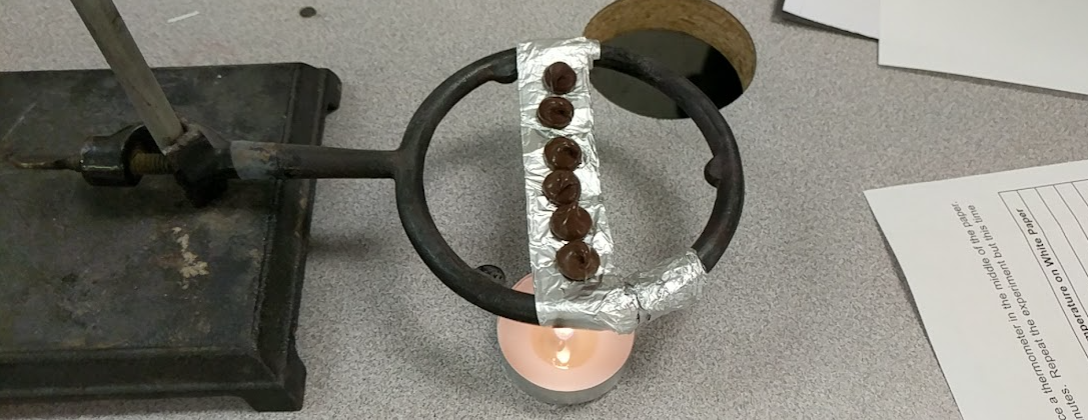
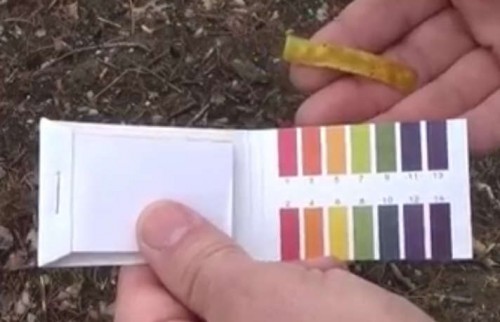
Students can now start the next part of the lab, which is to determine the soil's pH levels. I have already discussed with students that most plants prefer neutral soil, but some plants like blueberries do prefer an acidic soil. Students will need a litmus pH paper and a pH color chart. Students will add about 20 grams of soil to the bottom of a beaker and then add about 50 ml of distilled water to it. They then use stirring rods or spoons to really mix the sediment into the water. Students need to let the solution set for just a few minutes so that the larger muddy part of the soil sinks to the bottom, leaving a layer of dirty, but not heavy in sediment, water. Students will put the tip of their litmus paper in that water and then compare the color to the color chart. Students then make a conclusion as to what the pH level of the soil is that came from my garden.
This first and second part of the lab should take about a 50 minute period. On the next day, students will analyze the texture of their soil. I explain to them, that the sand is the bottom layer and that the silt is the next layer, and then clay would be the top layer. Before class I take a picture of one of the best samples and then show it on my SmartBoard where we can discuss the math behind find out the percentages of sediment type.
I have the students choose where the layers of each sediment type are and draw a line representing each layer.
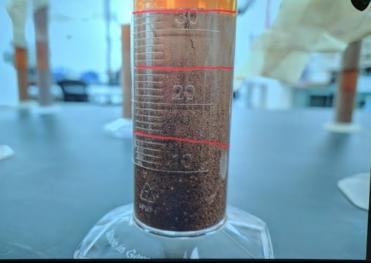
Students then calculate the percentages of each soil type. We do this as a class before they go and look at their own samples. In this example we discussed that their were 33 sections of soil. Sand filled up 15 sections of the cylinder, silt filled up another 15 sections, and clay filled up 8 sections. We created a fraction of each sediment, 15/33, 15/33 and 8/33. We then created percentages out of those fractions. 45%, 45%, and 10%. Next we discussed how to use a soil triangle to discover what type of soil I had.
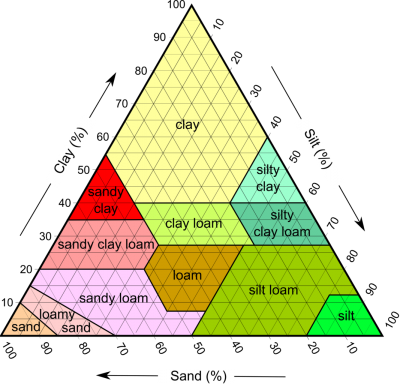
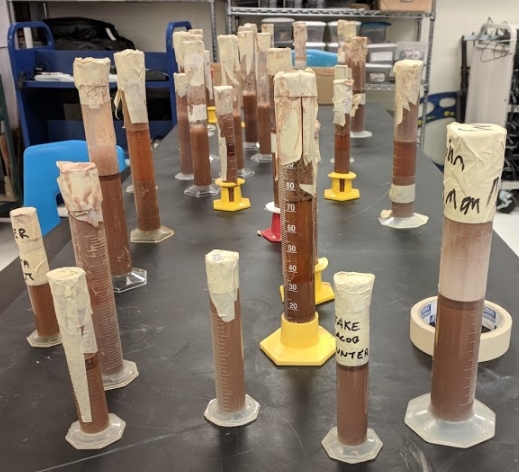
The soil that this particular sample had was loam and the conclusion would be that my garden is loamy, which means I have awesome soil for a garden. Now that students have an understanding of how to determine their soil types, they go and examine their own samples. Some students didn't do their samples correctly, either having too little water or not shaken up well enough. If their experiment was a fail, I had them just use a good sample from the back table of another class. This way all students got to participate and have a good sample to work with. You can see from the image below, that I used many different sizes of cylinders. This is really due to the lack of similar sized cylinders.
Students also have a lab sheet that they fill out while completing this assignment. The sheet also contains thought provoking questions that lab partners answer together like: Why would knowing what type of soil you have be important to farmers?, Which soil type do you think would drain water the quickest?, Which type of soil do you think would retain water the best? These questions are actually preludes to the soil porosity and permeability lab, where students will design an experiment to find out which sediment is the most porous and which is the most permeable.
Clean up can be a pain. My first year I told students to go dump their sediment outside, and then come and rinse out their cylinders. All day long I hadn't visited my sink which is in the very back of my classroom. When I went back to do some cleaning, I found that many students skipped the step of dumping their sediment outside first and had instead just dumped it down my sink. This year during cleanup I stood guard at my sink or had an aide to it to make sure that sediment wasn't being dumped down the sink.
This Earth Science lab is easy to set up, kind of a mess to clean up, but worth watching student "do" science.
You can purchase this Soil Texture and Soil pH Lab at Teachers Pay Teachers for 0.30 cents.