This assignment is pretty self explanatory. After explaining to students that the USGS (United States Geological Service) has a website that is tied into seismographs from all over the world, I pass out the assignment. Students will need to read the instructions to complete this earthquake assignment. I have multiple students asking questions, and I always respond, did you read it. Assuming the questions is based on the assignment of course. This assignment is designed for students to explore the USGS website so that hopefully if they take an interest in the study of earthquakes they will know of a great resource to use.
In this Earth Science assignment students will gain a better understanding of what an earthquake is, the power that is released, how to locate the epicenter, and read seismograms by understanding P and S waves. To wet their appetite for what is coming I show a newscast about the 2011Japanese earthquake that generated a deadly tsunami. I introduce this lesson by telling students that they need to use their imagination. They are going to pretend that they are seismologists and that there was a recent earthquake that just occurred. After setting up the scenario, they are going to describe what seismologist is, seismograph, seismogram and epicenter. I show a USGS videomade that does a pretty good job of describing these vocabulary terms.
In this Earth Science assignment students get an opportunity to do a couple of things. One is that they get to use their creative side by creating a Google Drawing that demonstrates their understanding of earthquake faults, hanging walls, footwalls, and the direction of the forces shear, compression and tension. They will refer to http://EarthScience.xyz/Faults as a reference. There is an example on that page of a Google Drawing that I completed. I let students know that they may not use any image from that example and that they have to come up with their own.
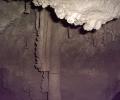
In this Earth Science activity students will choose one cave and find some information about it.
There are a few ways that I have tried this assignment. Normally I randomly select a group and then they get to pick one of the caves from the list. I only allow each cave to be selected once. I have a list of 18 caves that they choose from. I have also had a Smartboard Randomizer select the cave for each group. This year I created a few cards that are place in a hat and they select one from the hat.
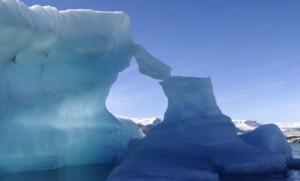
After I teach a section on glaciers and glacier landforms, I show the documentary, "Chasing Ice." "Chasing Ice" is a fantastic video, full of imagery and story. It documents James Balog and his voyage to capture glaciers in their essene. I pause the move a bunch throughout, to discuss much of the vocabulary given during the glacier unit: till, outwash plain, moraines, rock fall, alpine glacier, continental glacier etc...
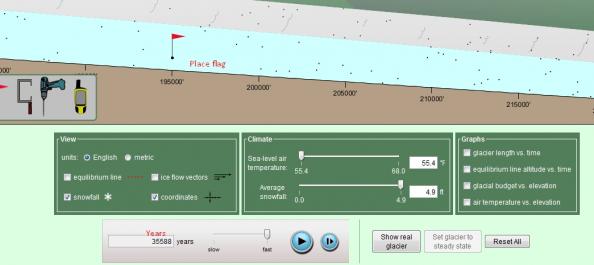
In this digital Earth Science lab students will explore glaciers and run a digital simulation using Phet Simulations. In order to run this simulation with your students, you will need to have Java installed on the machines. This can be a fun lab and students will learn a bunch about glaciers, their landforms, and use some math to calculate a glacier's growth rate and rate of speed.
Some of the landforms students will research are: hanging valleys, u-shaped valleys, aretes, horns, cirques, till, terminal and lateral moraines, outwash plains, drumlins, and eskers.
Using the simulation students will use math to determine the rate of speed for a glacier that they built.
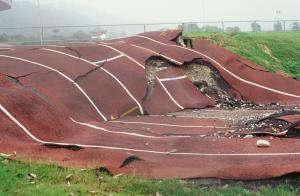
In this Earth Science lab, students determine which type of soil they have in a sample found from my garden. On day one students place soil in a graduated cylinder, filling it to about 25 percent. They then fill their cylinder up 3 times that amount or nearly full with a soapy water solution. If students don't put enough of the soapy solution in, their soil turns to a thick mud and can't separate and settle well to the bottom. To create the soapy solution, all I did was add a dry borax type soap to distilled water. You don't want to use soap that is sudsy, because as they shake the cylinder, it really suds up. I know from experience. The purpose of the soap is to help break bonds holding dirt clumps together. Have the students tape the top of the cylinder extremely well, so that they don't get mud all over their hands or your desks. I have tried using rubber stoppers before, but students found a way to get those stoppers jammed and stuck in the cylinders, so this year I us
In this Earth Science lab, I first discuss with students what soil permeability and porosity is and why that matter. The more permeable a soil is the easier the soil drains water. Some plants prefer water to be drained quickly. Soil porosity is how much space is in between the different sediments. A good way to see if soil is porous or not is to see how much water it can soak up or hold onto. Some plant prefer water that can hold onto water so that they constantly can use it.
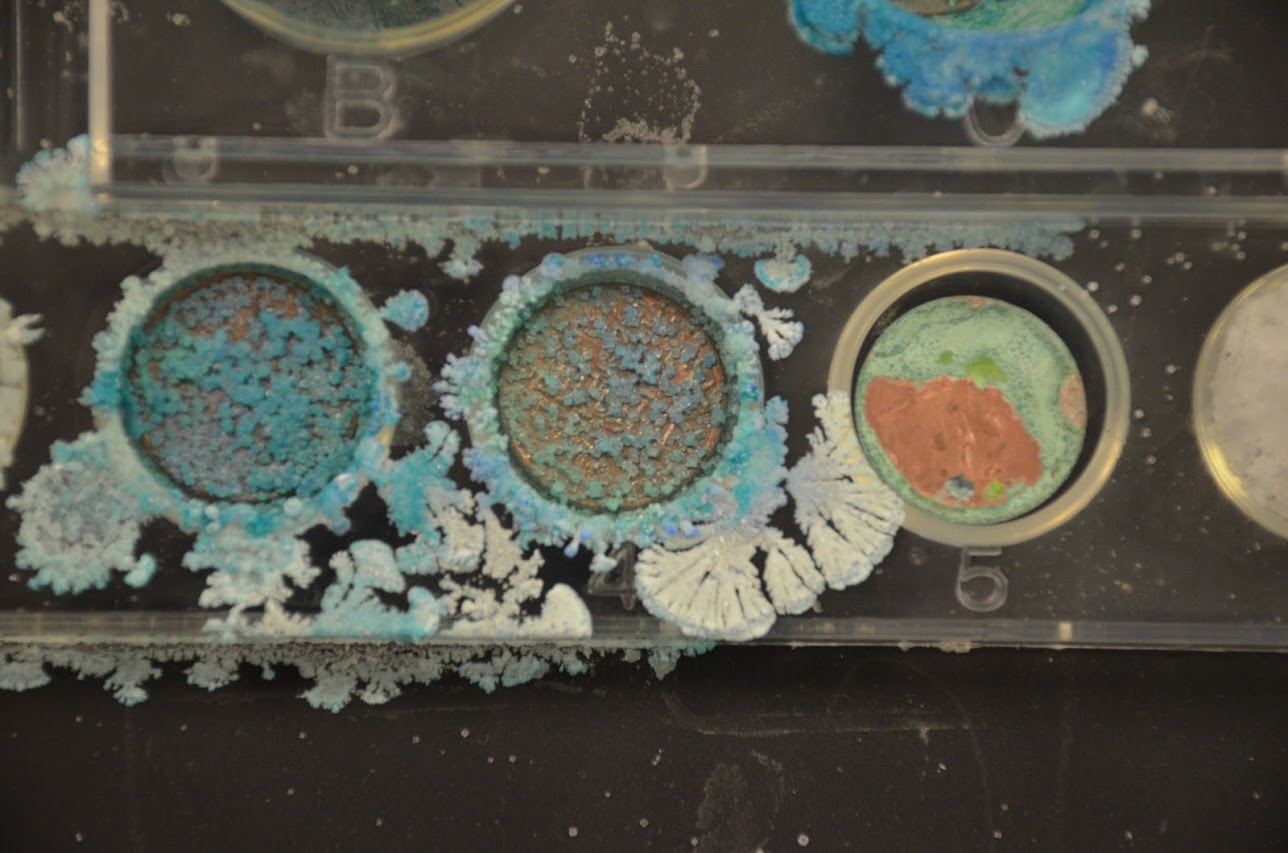
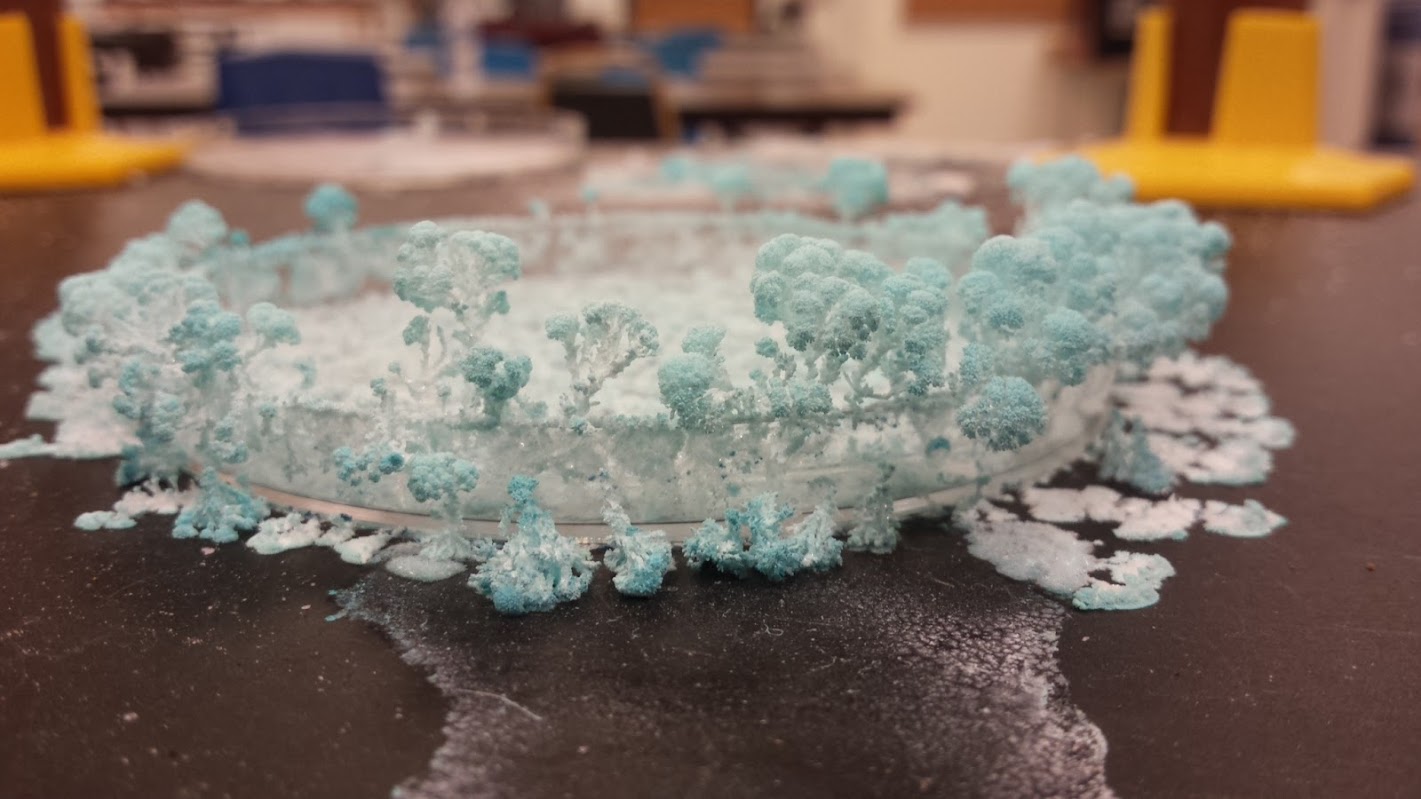
Before beginning this lab, I announce a good week in advance that I will need copper pennies dated 1982 or older. I also give them 1 extra credit point per penny that they can donate to science. I did learn however after my first year, that you need to cap it. Otherwise you have those students who can raise their grade significantly after bringing in 100. I did not expect that the first time I did this. I now cap it at 5 per student. This also spread the points around.
The reason you need copper pennies 1982 or older is because you are looking for pennies with a high concentration of copper in them. After 1982 pennies were mostly zinc and very little copper in them. If you don't personally verify the dates though, some newer pennies will sneak in.
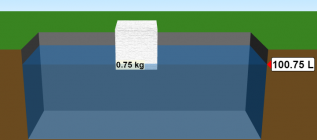
In this lab students will need to have access to a computer that can run "Flash" and the Phet Density Lab worksheet. The worksheet is designed to be pretty self explanatory. I am looking for students abilities to follow written instructions and ability to collaborate with a partner. By the time students get their machines, log on, Google Phet Density, and complete the task it took about 45 minutes for my smaller classes and 50 minutes for the larger ones. This allowed the rest of the time period to discuss key concepts that are explained below.